Today I'm going to talk to you about a particular problem solved in our own home in the simplest and most practical way.
The problem and the solution
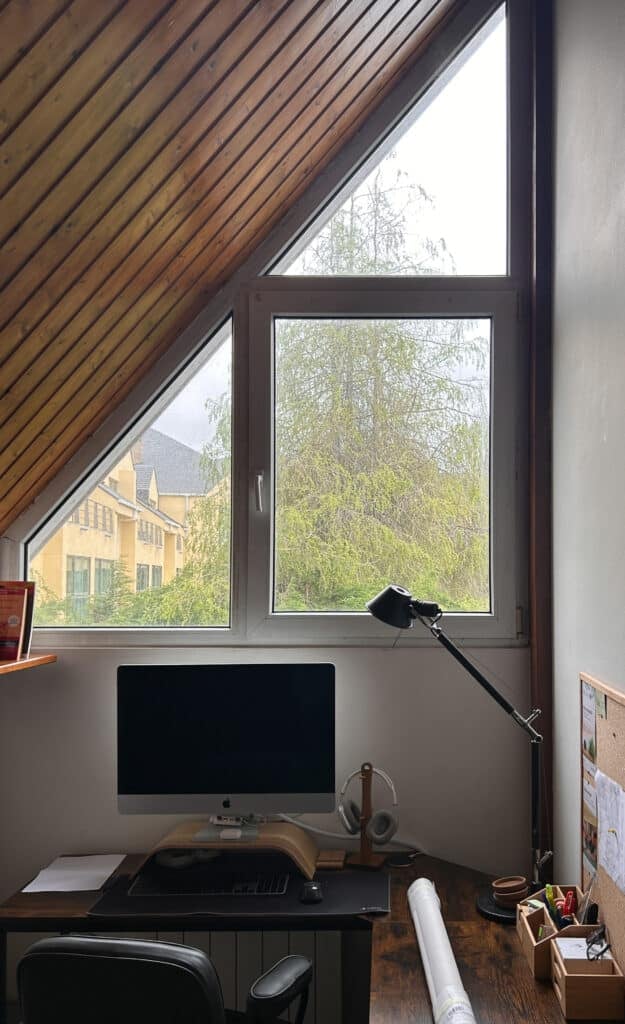
This is an office that gets a lot of light in the morning. The sun shines directly in and ends up being quite bothersome, causing glare when working in front of the screen.
The window is also not standard. It's triangular, which makes finding a suitable curtain solution quite difficult.
In fact, the woodwork still shows holes left by the previous owner. It seems they tried installing something that didn't work, leaving a real mess in the frames.
That's why we were looking for a simple, clean option that didn't require drilling any more holes.
The quickest solution is to install a roller blind without drilling. It's much easier than it seems.
In this case we have chosen a roller blind from the brand ClothIt features a linen-look screen fabric (Panama Blanco) with a level 3 openness factor, allowing light to pass through without sacrificing privacy. For operation, we've opted for the simplest method: a manual chain.
The blind comes standard with plugs and screws for ceiling or wall mounting, but in this installation we will not use them, as we will fix it directly to the window frame, without drilling or making holes.
Upon opening the box, the first step is to identify the components. On one side, we have the fabric roll, which already includes the mechanism and chain. On the other, we have the window brackets, which include a small Allen wrench for adjustment. No additional tools are required.
The magic is in the special window brackets
It is important to keep one detail in mind: Window brackets are ordered separatelyThese are two pieces with U-shaped hooks that attach to the window frame without drilling holes and they serve to support the rolling mechanism.

We placed the first bracket on the window.
We begin by placing the first bracket at one end of the window. We tighten it with the Allen wrench until it is secure. You may need to use a ladder or a stool to work more comfortably.
We fit the mechanism with a click
Next, we position the blind and fit it into the first bracket. You'll see that it goes in easily and clicks into place.
We placed the second bracket on the window and fitted the roll.
The next step is to attach the second bracket on the other side. We do this while holding the blind in place. You could attach both brackets first and then fit the blind, but this way we avoid measurement errors. This way, the blind already indicates exactly where the second bracket should go, eliminating any room for error.
We installed the trim pieces and removed the protective covers.
Once everything is secured, we attach the decorative covers that conceal the mechanism and give it a cleaner finish. We also remove any protective tapes and plastic, if we haven't already done so. In my opinion, it's best to remove them last to protect them during the assembly process and avoid damaging or soiling them.
We tested its functionality
Finally, we tested it. We pulled the chain and checked that it goes up and down smoothly and stays at the desired height. In our case, since it's a tilt-and-turn window, we also checked that it opens properly and that the blind doesn't get in the way.
The blind is installed in less than 10 minutes. No drilling, no complicated tools, and a clean, practical result. Ideal for anyone who wants a roller blind quickly and easily installed in a room.