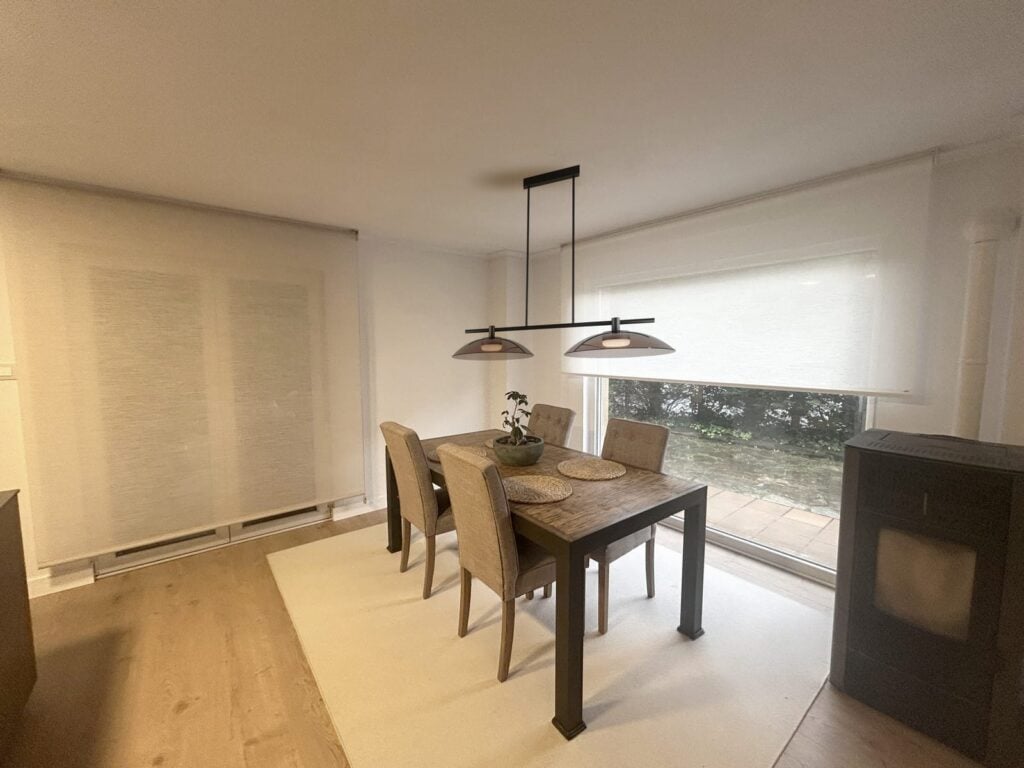
Installing a fabric roller blind is a simple way to dress up your windows and control the light with a clean and sophisticated finish.
For this guide we have chosen a very special roller blind, which is not the classic screen fabric.
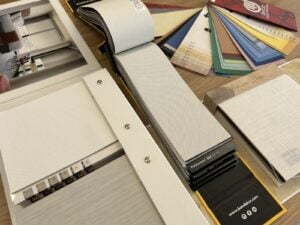
It is a fabric with a warm linen texture and an elegant off-white color.
They are from the brand Cloth And they are custom-made for us, there is no excuse for not dressing any window and leaving it spotless, easy and fast.
Below, we explain how to do it step by step, whether you choose wall or ceiling installation.
1 – Before we begin
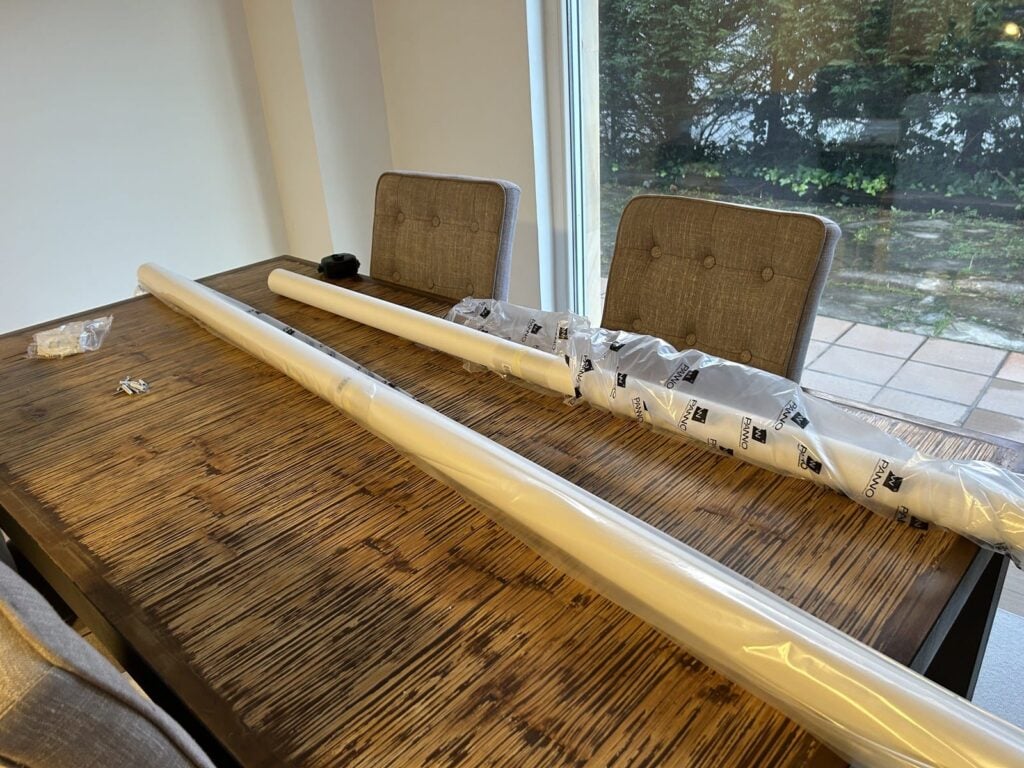
Check that the blind is the correct size and includes all brackets, screws and mechanisms.
You will only need one metropencil, level, drill and screwdriver for its placement.


2 – Choose the type of installation
Fabric roller blinds can be installed in two ways:
- To the wall: The blind is fixed to the wall, above the window, as high as possible.
- Ceiling: This is ideal because it creates a cleaner and more stylized visual effect.
En chic & fabric We recommend fixing it to the ceiling whenever possible, as this is the option that works best aesthetically.
However, certain moldings or a false ceiling that is too thin may make it more advisable to fix it to the wall.
3 – Mark the fixing points
First of all, measure the length of the blind.
Next, measure the window and calculate the difference so that it is centered.
We recommend that the blind protrudes at least 15-20cm on each side of the window, otherwise the result may look a bit poor.
In addition, this creates the optical effect that the window is larger.
Finally, with the measurements clearly in mind, position the blind brackets in the chosen location and mark with a pencil the points where the screws will go.
It's crucial not to make a mistake; if you place the side supports too close together or too far apart, the mechanism won't fit and you'll have to repeat the process and fill the old holes...


trick of chic & fabric:
If you have help, you can do the following:
- First, fix one support (for example, the left one).
- Fit the right bracket into the blind.
- Place the blind on the left side and while one person holds it, the other marks the position of the right support with a pencil.
4 – Secure the supports
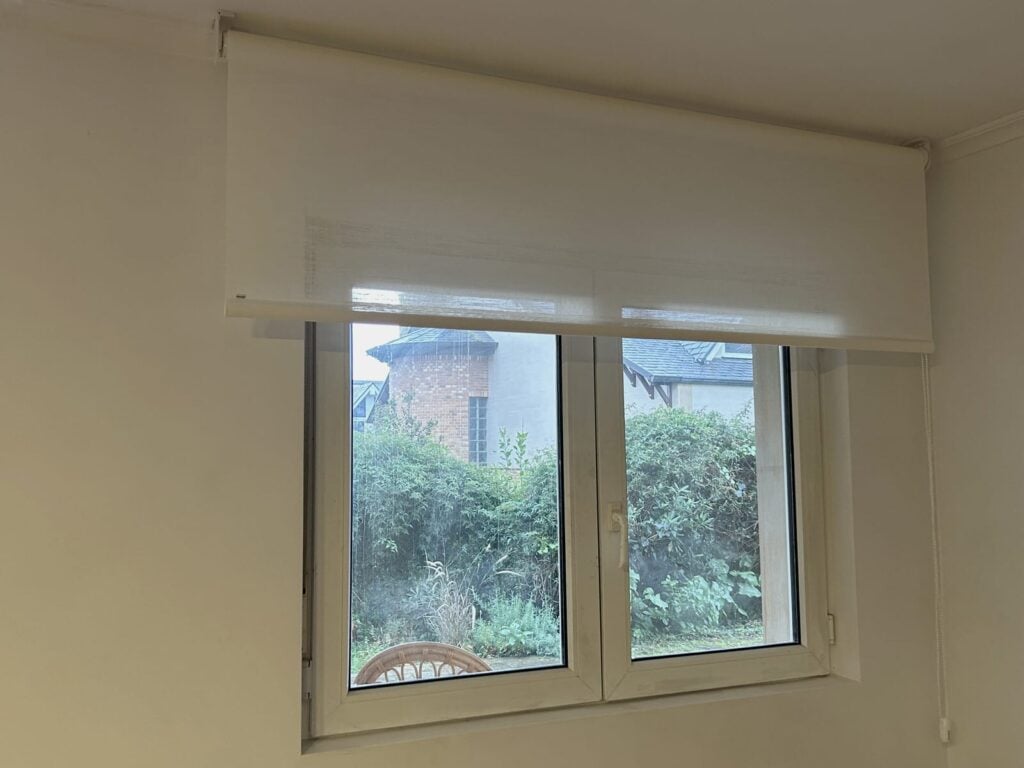
Now it's time to drill the marked points and insert the wall plugs. Screw the brackets in firmly, making sure they are secure and aligned.
Our trick: Don't rush us to position ourselves too close to the back, as it requires a few millimetersmetros of margin at the end to insert the trim pieces that will cover the screws.
Most importantly, be careful if it's a thin plasterboard false ceiling, as this can complicate things if it can't support the weight of the blind.
In that case, you may need to use self-drilling plasterboard plugs, with the advantage that they do not require drilling a hole.
Although the fabric blind does not weigh as much as others (for example the wooden blind) it can be manufactured in large dimensions and consequently, yes, it does weigh something.
Therefore, carefully assess the situation before installing it, drill a test hole before proceeding, and make sure the ceiling will support it. If you're unsure, opt to fix it to the wall.


5 – Install the roller blind
Fit the blind onto the brackets. First, look at the ends and the brackets; their shape makes it easy to see which goes where.
In the photo, you can see a protruding mechanism. This has a spring and slides inwards, making it easier to fit.
First, one end is inserted, then the other end is pressed until the spring clicks.
Finally, don't forget to attach the included plastic cover to hide the screws on each fastening piece.


6 – Final checks
Test the blind by raising and lowering the chain several times, check that the operation is smooth.
In some models, the up and down limit can be adjusted to set the exact height.
Make sure the fabric hangs straight, without deviating, and that the blind is properly centered on the window.
If everything works correctly, the installation is complete.
Doesn't it seem easy? Go ahead and install them yourself! I don't think it'll take you more than 30 minutes, really.